KITCHEN TIPS at T R W - RECIPES
RECIPES ON THIS PAGE: (listed in the order they appear)
Chicken Stir-Fry with Broccoli and Bell Peppers
Hamburger and Maccaroni with Tomatoes
Braised Corned Beef and Cabbage Dinner
Slow Cooker Apple Butter
Green Chile Meatloaf
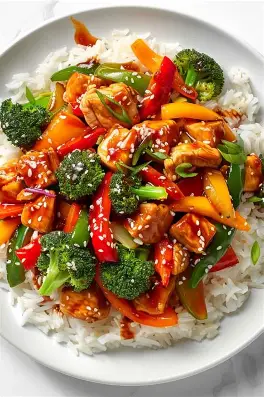
CHICKEN STIR-FRY
WITH BROCCOLI AND BELL PEPPERS
This recipe originally began as a Lo-Mein recipe, but we like our stir fries over rice better. In addition to being quicker to prepare, it is also a healthier option. I also add any additional veggies I may have on hand. This flexibility allows for a new twist each time, making the dish both exciting and nutritious.
Ingredients:
1 pound boneless, skinless chicken breast
6-8 mini sweep bell peppers
1 med head broccoli
1 sm. Zucchini
2 ribs celery
½ medium onion
Sauce:
1 ½ cups chicken broth
1/3 cup oyster sauce
3 Tbsp low sodium soy sauce
2 Tbsp chili garlic sauce
1 Tbsp minced garlic
1 Tbsp sesame oil
2Tbsp cornstarch
Instructions:
Cut chicken into thin slices about an inch long. Place in a bowl and refrigerate till ready to stir-fry.
Remove stems and seeds from bell peppers. Cut into about 1-inch pieces.
Trim both ends off zucchini and discard. Cut zucchini in half lengthwise then into ¼ inch slices crosswise.
Cut broccoli into bite size pieces. Separate florets from stems.
Cut celery crosswise into ¼ inch slices.
Cut onion from top to bottom into thin slices.
(Because my prep table with the cutting board is opposite my kitchen sink, I usually rinse and trim my veggies then place them in a colander to drain. This way I can bring them all to the prep table and cutting board at the same time.)
At this point, I like to arrange the vegetables on a platter (or large dinner plate) in reverse order of which I’ll be stir-frying them. The bell peppers will be last into the wok, so they go first on the platter. I usually have enough veggies that I end up with two layers separated by a piece of plastic wrap. (I would guess about 6 cups) Keep in the refrigerator till ready to stir-fry.
Stir together the sauce ingredients. I do this in a large measuring cup that makes it easy to pour right into the stir-fry. If you are going to cook right away, you can leave the sauce mix out at this point. If you have prepared to this point to cook later, refrigerate the sauce mix.
Get out a large serving bowl and set nearby.
Heat your wok (or a large sauté pan) over medium high heat.
Drizzle 1-2 Tbsp. Sesame oil (I like toasted sesame oil, it has a deeper flavor) into heated wok and add chicken. Stir constantly separating pieces until chicken is cooked and no pinkness remains. (I have found that when the chicken is very cold it tends to stick together so I stir the sesame oil into the chicken before adding it to the heated wok.) Once chicken is cooked through, place into the serving bowl. Set aside.
Return wok to heat, add another 1-2 Tbsp. sesame oil. Add onion, celery, and broccoli stems. Stir-fry until celery and broccoli turn bright green. Add in remaining veggies and continue to stir-fry until broccoli florets turn bright green. At this point the veggies will still be quite crisp. If you like them a little more tender, you can add 1-2 Tbsp. water and cover for about 2 minutes. Remove lid and add chicken back to pan. Stir to combine all and add the sauce mixture. Stir until sauce is bubbly and has thickened. Pour everything back into serving bowl and serve with cooked rice.
Note:
If you would like to try this as Lo-Mein, you can find wide lo-mien noodles in the Asian isle in most grocery stores. Just follow the cooking directions on the package before you start your meat and veggies. When you have everything in the wok and the sauce has thickened, stir in the Lo-Mein noodles just till heated through. Enjoy!
Equipment for Stir-Fry:
 Knife(s) – three basic knives for any job.
Bowls – show off that colorful stir-fry.
Wok w/lid – this is the one I have, it works great!
(or large sauté pan w/lid)
Silicone Paddles – I use these for most everything.
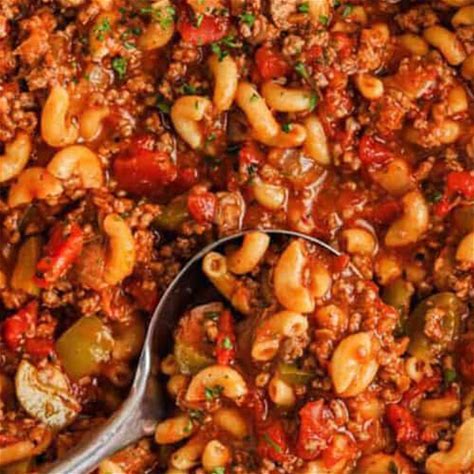
HAMBURGER AND MACARONI
WITH TOMATOES
This was one of the first main dish recipes I learned to make when I was about 10 years old. It’s easy, uses simple ingredients you probably have on hand, and it is cooked in one pot. I have seen very similar recipes called “Hamburger Skillet”, “Homemade Hamburger Helper”, “American Goulash”, etc. I’ll give you the original recipe (as close as I can remember) then give you some variations I use depending on flavor preference and/or mood. Served with a tossed salad and toasted garlic bread, you have a complete meal.
Hamburger and Macaroni with Tomatoes Serves 6
1 pound ground beef (not too lean, you will need some drippings)
2 cups elbow macaroni, uncooked
1 small onion, diced (about 1 cup)
1 med. green bell pepper, diced
2 cloves of garlic, minced
1 14.5 oz can diced tomatoes, undrained
1 14.5 oz can tomato sauce
1 Tbsp Worcestershire sauce
1 cup beef broth
Salt and Pepper to taste
Place beef in a large, tall sided sauté pan or Dutch oven (at least 3 qt.) and cook till no longer pink, crumbling as it cooks.
Using a slotted spoon, remove beef to a bowl and set aside. Drain grease from pan reserving 2 Tbsp. Return grease to pan, add macaroni and brown over medium heat till just turning golden brown. Add onion and bell pepper, cook till onion is translucent, about 5 minutes. Add garlic and cook another 30 seconds till fragrant.
Add tomatoes, sauce, Worcestershire, beef broth and beef to pan. Stir to combine and season with salt and pepper to taste.
Cover and simmer 15-20 minutes till macaroni is cooked, stirring occasionally. You may need to add a little water if the dish seems too dry.
Variations:
Italian – add sliced mushrooms, sliced black olives, Italian seasonings (basil, oregano, a touch of thyme), and extra garlic. You can also substitute Italian sausage for the ground beef.
Southwest – add black beans, corn, and taco seasonings. I use fire roasted diced tomatoes or a can of diced tomatoes with green chiles (like Rotel). Or I pull some roasted green chiles out of the freezer that I put up last chile season. (See our “Chile Blog Review”) All depends on how spicy you like it.
Notes:
Lightly browning the macaroni help it to maintain its shape and not get mushy.
I have made this recipe using penne pasta, rotini (spirals), and farfalle (bow ties) but I always come back to elbows.
Equipment Needed:
Slotted Spoon and Stir/Serve Spoon
Knife for dicing veggies
BRAISED CORNED BEEF AND CABBAGE DINNER
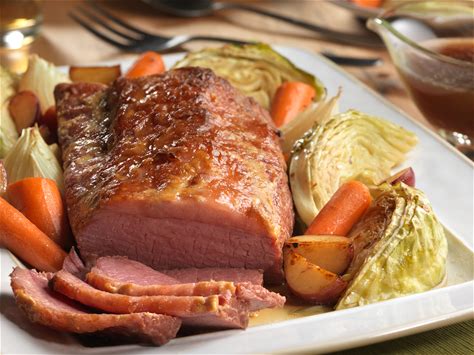
Around the beginning of March, I start thinking about Corned Beef and Cabbage also known as “New England Boiled Dinner”. I never got very excited about this meal, it was just sort of blah to me. In years past the price of Corned Beef would drop below $2.00 a pound but this last year it didn’t drop, in fact I paid over $5.00 a pound. At this price I couldn’t see dropping beef in my Dutch oven or slow cooker, covering it with water and boiling or simmering for hours. somewhere along the way I would add potatoes and carrots, then add cabbage wedges the last half hour. The end result is a meal where everything tastes pretty much the same, waterlogged and, well, blah.
As I often do, I pulled out 4-5 cookbooks and looked at other options. I also scanned the internet for ideas. Then I put everything away and did my own thing. My Corned Beef and Cabbage Dinner turned out so much better I will never boil another Corned Beef. I hope you enjoy this recipe as well.
BRAISED CORNED BEEF AND CABBAGE DINNER
1 Corned Beef Brisket (about 3 pounds, with seasoning packet)
4 cups beef broth
6-8 whole peppercorns
1 Tbsp chopped garlic
½ - 1 tsp red pepper flakes (optional)
2 Tbsp Dijon mustard (not bright yellow mustard)
2 Tbsp packed brown sugar (dark brown works well too)
1 large onion, peeled and cut into 8 wedges (or 2 med. Quartered)
½ pound baby carrots (more if you like)
4 medium size red potatoes cut in quarters
1 head green cabbage cut into wedges
Instructions:
1. Preheat oven to 350 degrees. Stir (whisk) broth, the seasoning packet, peppercorns, garlic, and pepper flakes together in a roasting pan. (no rack) Place the corned beef in the pan, fat side up. If the beef is totally submerged, remove some of the seasoned broth and reserve. Spread the Dijon mustard on the beef then sprinkle with the brown sugar. Cover the pan.
2. Bake for 2 ½ hours. Remove from oven and arrange the carrots, potatoes, onion, and cabbage around the beef in the pan. If some of the broth had been reserved, put carrots and potatoes in the pan and gently lift the beef so it rests on top. Then add the onion and cabbage around the beef and add the remaining broth.
3. Return to the oven and bake, uncovered, for an additional 1 ½ hours or until beef and vegetables are fork tender.
4. Remove beef and vegetables to serving dish(es) and let rest 10 minutes. While beef rests, strain broth mixture to serve with dinner. Slice beef and serve. ENJOY!!
Notes:
When purchasing a Corned Beef Brisket, I like the flat cuts rather than a point cuts. The flat cut has less fat. If there is a thick fat cap on the brisket, you may want to trim it a little so the mustard and brown sugar topping will penetrate down to the meat.
I like to use baby carrots just because they are ready to go but feel free to use whole peeled carrots and cut to desired size.
Red potatoes hold together best in this recipe. If potatoes are small, just cut in half and use a few more.
If the head of cabbage is large, cut in half (saving half for another use) then cut 1 half into 4 wedges. If the head is small, cut into 6 wedges.
Equipment:
Slicing Knife (This is the type of knife I prefer. Drop forged blade, full handle tang, riveted to handle, it does not allow for gunk to accumulate, ensuring a clean and precise cut every time.)
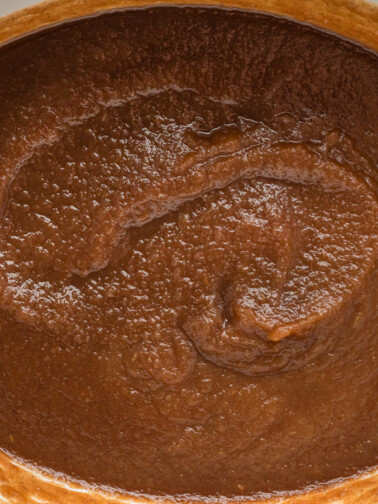
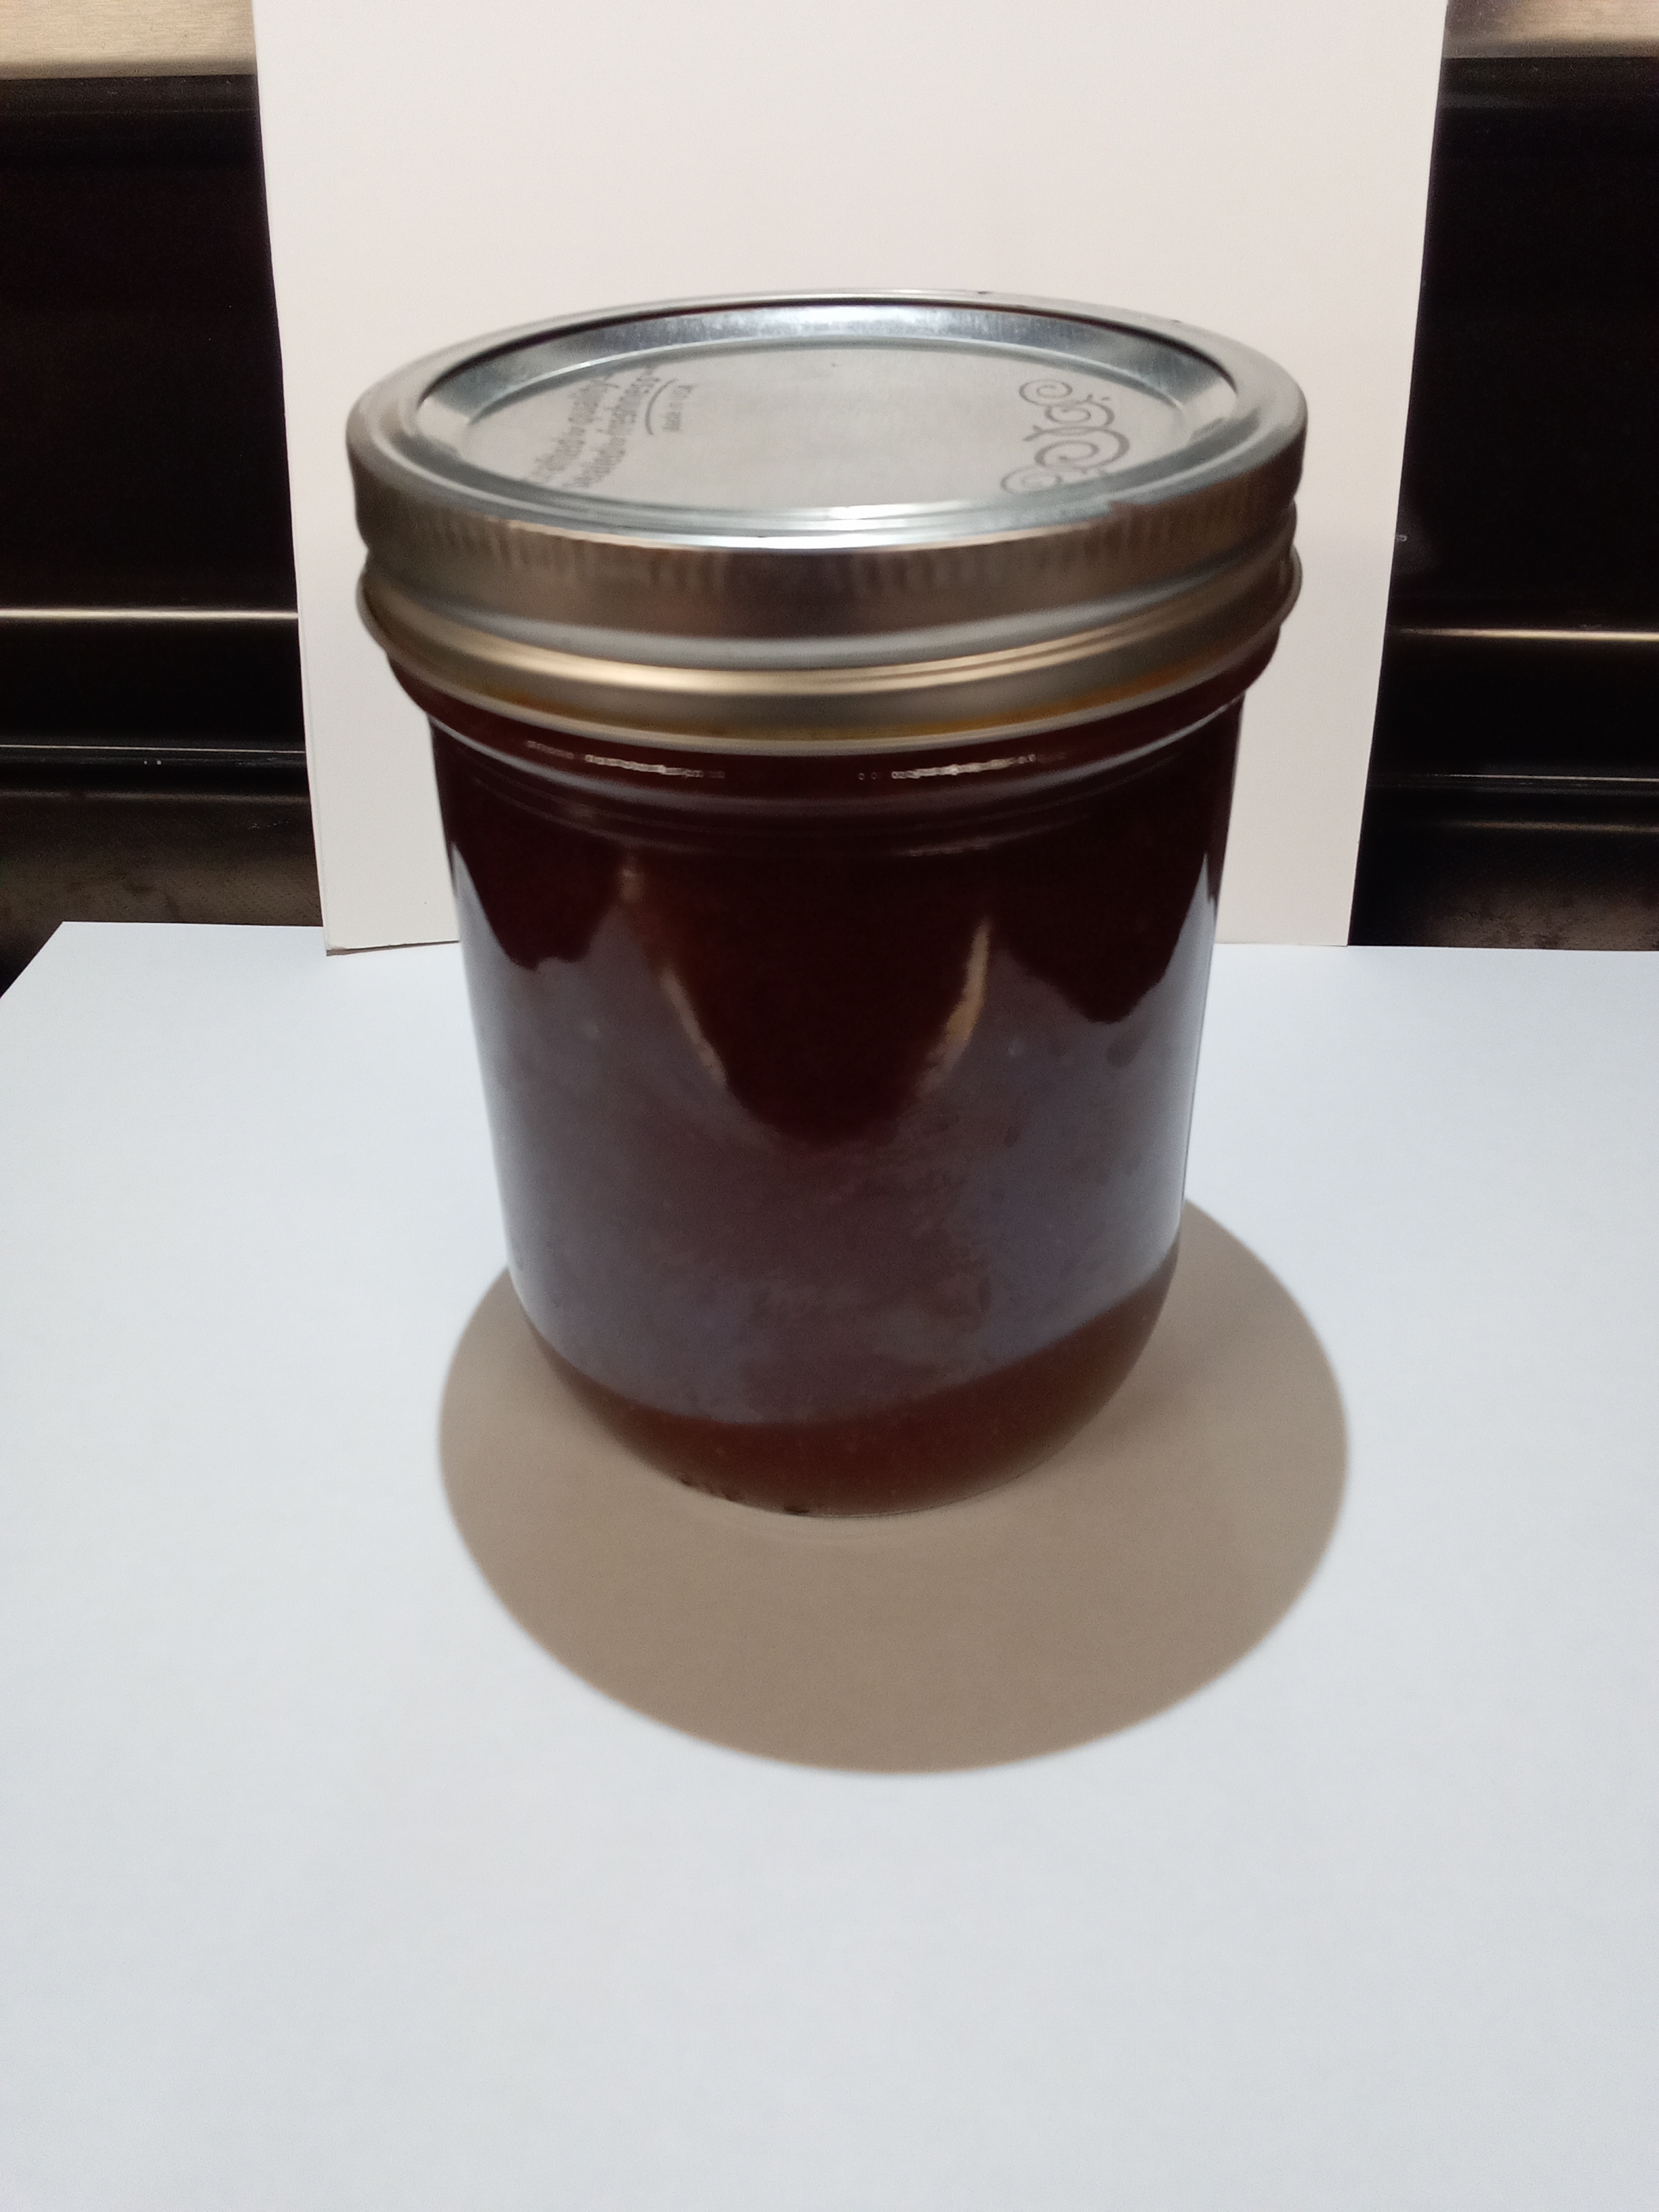
SLOW COOKER APPLE BUTTER
This thick, rich, and flavorful Apple Butter is good on just about everything but great on toast or light, fluffy biscuits!
Ingredients:
5 pounds apples (any variety will work fine)
1 cup dark brown sugar, packed
1 Tbsp + 1 tsp Pumpkin Pie Spice
2-3 dashes of salt
Instructions:
1. Peel, core and thin slice the apples.
2. Add apples to the slow cooker. Stir in brown sugar, spices and salt.
3. Stir till the apples are coated.
4. Cover and cook on high for 5-7 hours.
5. When apples are tender, place them and any liquid in a blender. Cover with the lid and a towel (in case the lid tries to lift off). Hold the lid in place and blend until it is very smooth.
Or if you have an immersion blender, you can blend it right in the slow cooker.
Note:
If you don’t have Pumpkin Pie Spice, use 1 Tbsp. ground cinnamon, ½ tsp. ground nutmeg, ¼ tsp. ground cloves.
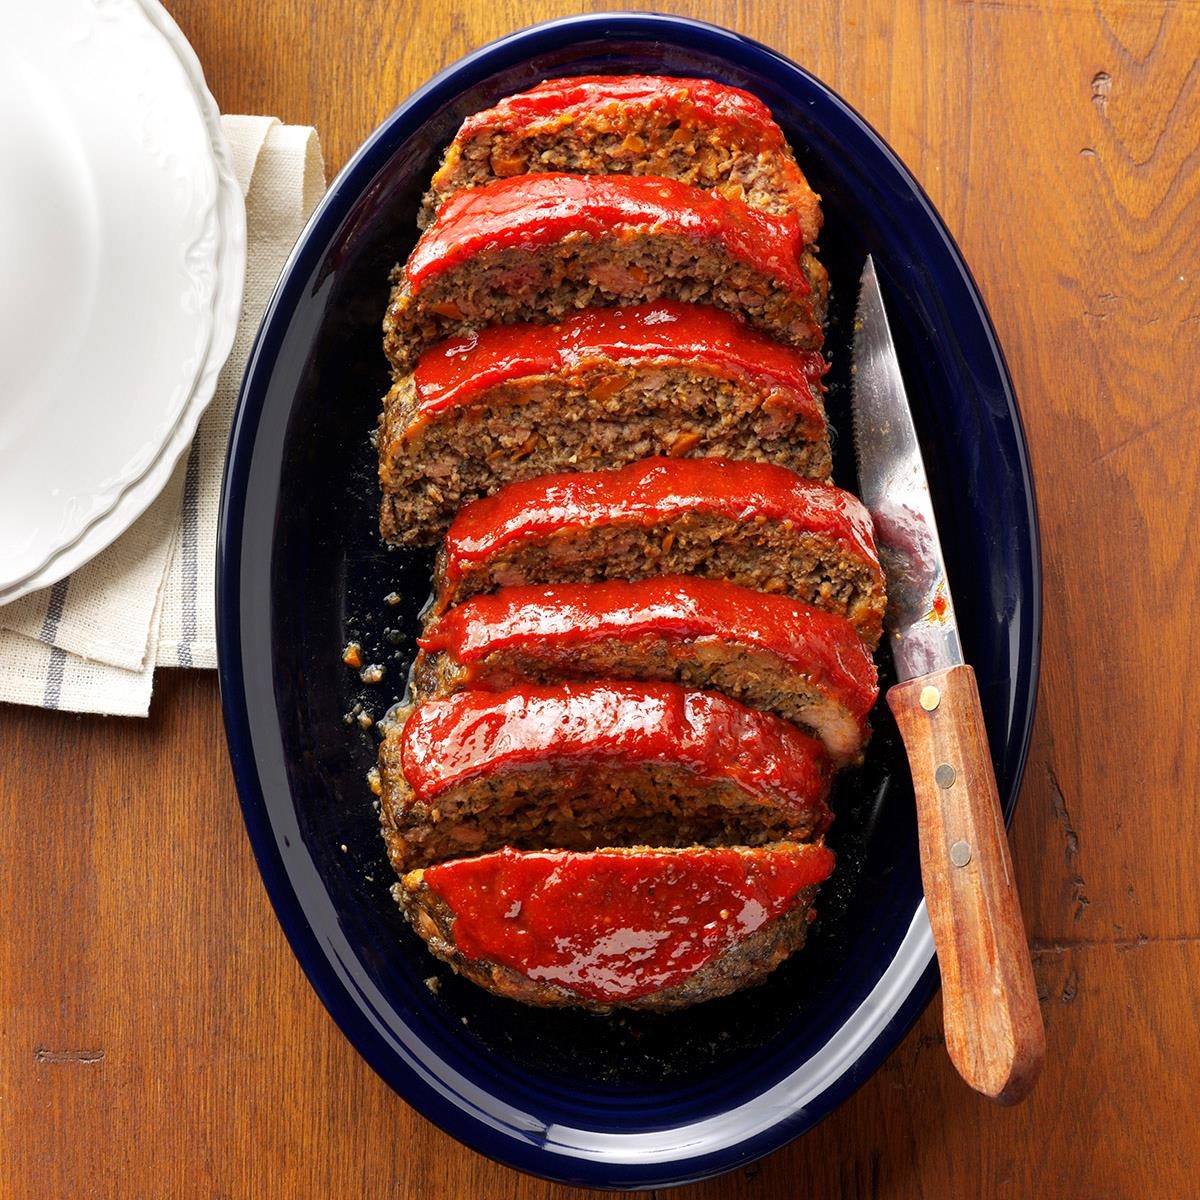
Green Chile Meatloaf
A New Mexican twist on a classic meatloaf recipe.
When I make this meatloaf, I usually use 2 pounds of ground beef and shape it into two loaves. I freeze one for another day and bake the other. We get two meals out of each loaf, being just the two of us.
Ingredients
Meatloaf:
2 pounds lean ground beef (90/10 works well)
1 box (6oz.) cornbread stuffing mix (such as Stove Top)
1 cup milk
1 cup roasted green chiles, chopped (or 3 x 4 oz. cans)
¾ cup diced yellow onions
2 large eggs
2 Tablespoons spicy ketchup (I use Sriracha Ketchup)
2 Tablespoons Worcestershire sauce
2 teaspoons dried parsley
1 ½ teaspoons salt
! teaspoon garlic powder
½ teaspoon black pepper
Glaze:
½ cup spicy ketchup (Sriracha Ketchup)
2 Tablespoons brown sugar
1 tablespoon red wine vinegar
Directions
Preheat your oven to 350 degrees F.
Mix ground beef, stuffing mix, milk, green chiles, onion, eggs, spicy ketchup, Worcestershire, parsley, salt, garlic, and pepper in a large bowl until well combined.
Place two 9 x 5 loaf pans on the counter. Lightly spray one with cooking spray (such as Pam), line the second one with plastic wrap leaving ends long enough to cover the meatloaf so you can freeze.
Mix spicy ketchup, brown sugar, and vinegar for glaze in a small bowl. Spread evenly over the loaf you are going to bake. (You will need to make another batch of the glaze before baking the second meatloaf.)
Bake in the preheated oven for about 55 minutes until it is no longer pink in the middle. An instant-read thermometer should read at least 160 degrees when inserted in the middle. Let it rest for 10 minutes before slicing.
Notes:
The glaze makes a lot in my opinion. You may want to reserve maybe half to serve with finished meatloaf.
Cover the second meatloaf with extra plastic wrap and freeze in the pan so the meatloaf will hold its shape. Once frozen, you can remove the meatloaf from the pan (don’t remove plastic), wrap tightly in foil and return to the freezer until ready to use.
Don’t glaze the meatloaf you plan to freeze. Defrost the second meatloaf in the fridge overnight and glaze before baking.
Equipment:
9 x 5 Loaf Pans (designed to drain fat away from meatloaf)
Instant-read Thermometer (My daughter gave this one to me as a gift and I love it. By far the best I’ve used.)
This recipe originally came from Allrecipes.com.