KITCHEN TIPS at T W R - BLOGS
ARTICLES ON THIS PAGE: (listed in the order they appear)
Toasting Pecans: A Simple Transformation
Tips to Save Money on Groceries no matter where you shop.
Green Chiles
Turkey Tips, Tricks, & Trivia
Toasting Pecans: A Simple Transformation
Discovering the Value of Bulk Pecans
During one of our recent visits to Sam’s Club, I came across pecan halves being offered at a significantly lower price than at the local market, about half the usual cost. Recognizing the great value, I purchased two large 32-ounce bags.
Unexpected Surprise: Raw Pecans
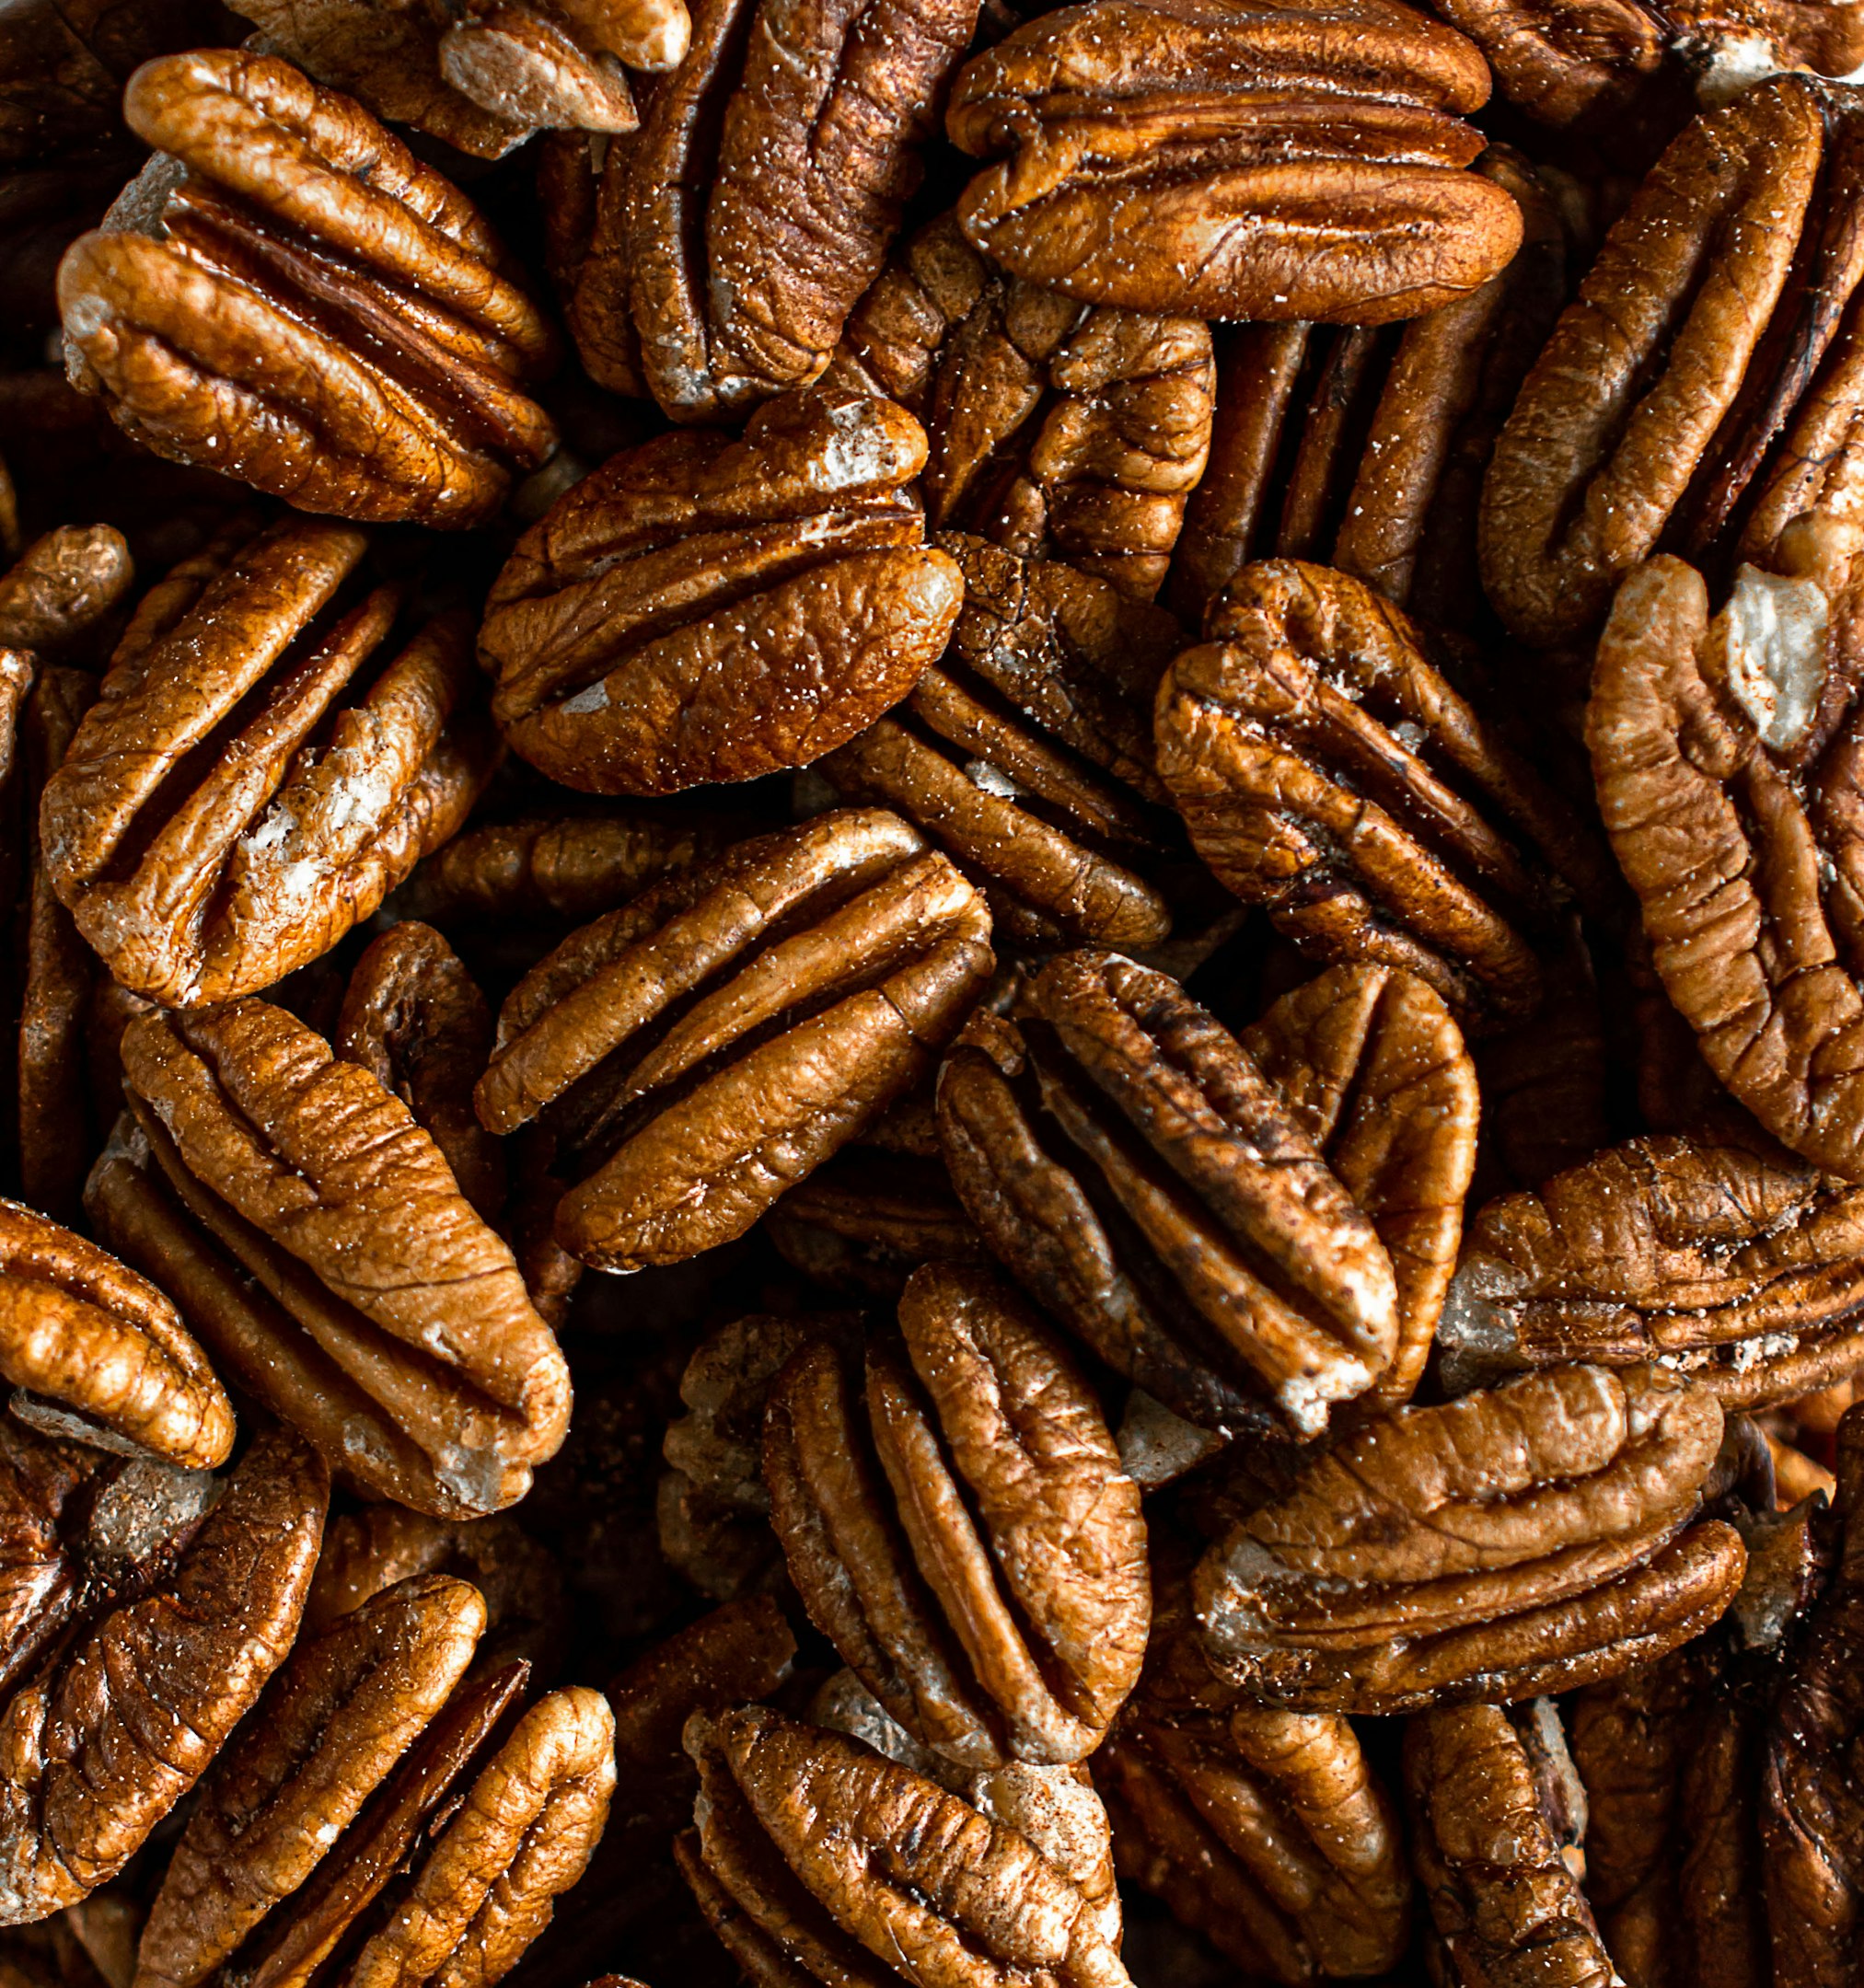
After bringing the pecans home, I didn’t initially realize they were raw and unroasted. The first time I used them, I noticed they were soft and almost soggy, which seemed unusual. This prompted me to examine the packaging more closely, where I discovered my oversight.
Enhancing Flavor Through Toasting
When the holiday baking season arrived, I decided to toast a batch of pecans. The transformation was remarkable—after toasting, the pecans had a vastly improved texture and flavor. The experience highlighted the importance of toasting raw pecans for optimal taste, especially when using them in recipes.
Methods for Toasting Pecans
Oven Method
Begin by preheating your oven to 350°F (175°C). Arrange the pecans in a single layer on a  rimmed baking sheet, ensuring they are spread out evenly. Bake the pecans for 7 to 10 minutes, tossing them halfway through the baking time to promote even toasting. It’s important to monitor them closely, as pecans can burn quickly.
Stovetop Method
For smaller batches, toasting pecans on the stovetop is a convenient option. Heat a dry skillet over medium heat, then add the pecans. Stir them frequently for about 5 to 7 minutes, until they become golden brown and release a fragrant aroma.
Microwave Method
If you’re short on time, the microwave offers a quick way to toast pecans. Spread the pecans in a single layer on a microwave-safe plate. Microwave them on high for 30 to 60 seconds, checking frequently to prevent burning.
Air Fryer Method
Preheat your air fryer to 320°F (160°C). Place the pecans in a single layer in the basket. Air fry for approximately 5 to 8 minutes, giving the basket a shake halfway through the cooking time to ensure the pecans toast evenly.
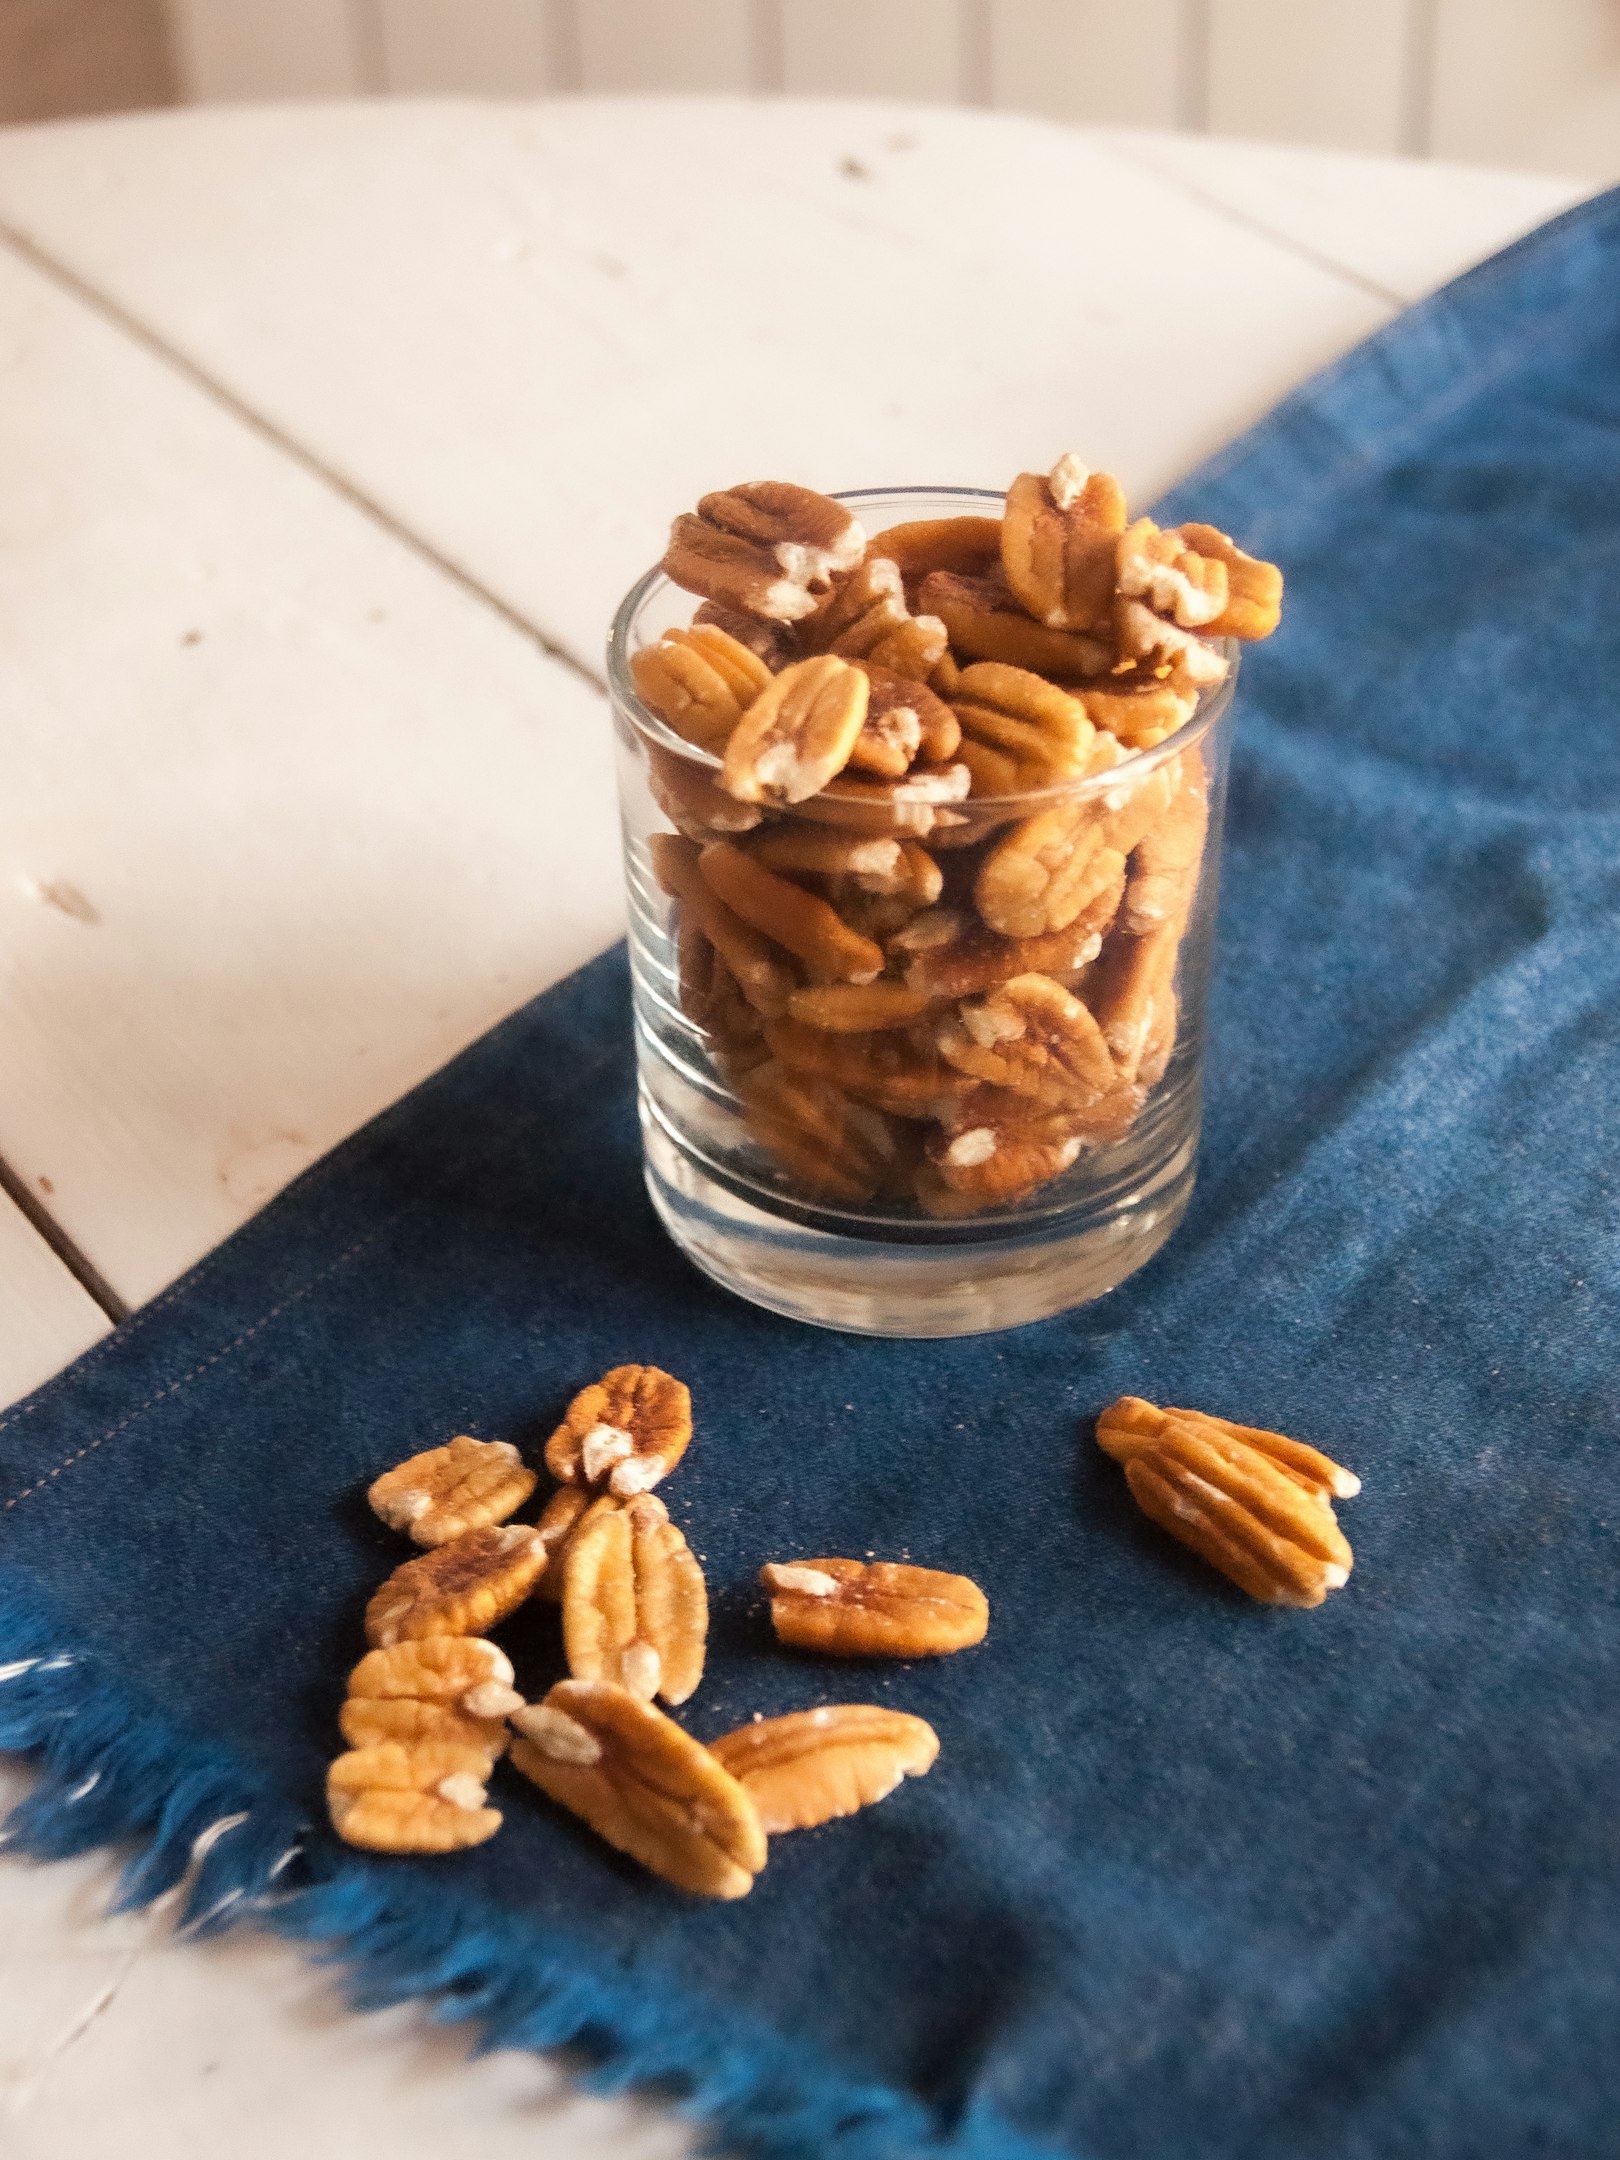
Storage Tips
After toasting, allow the pecans to cool completely before transferring them to an airtight container. Properly stored, toasted pecans can be kept in the refrigerator for up to 9 months or in the freezer for about 1 year.
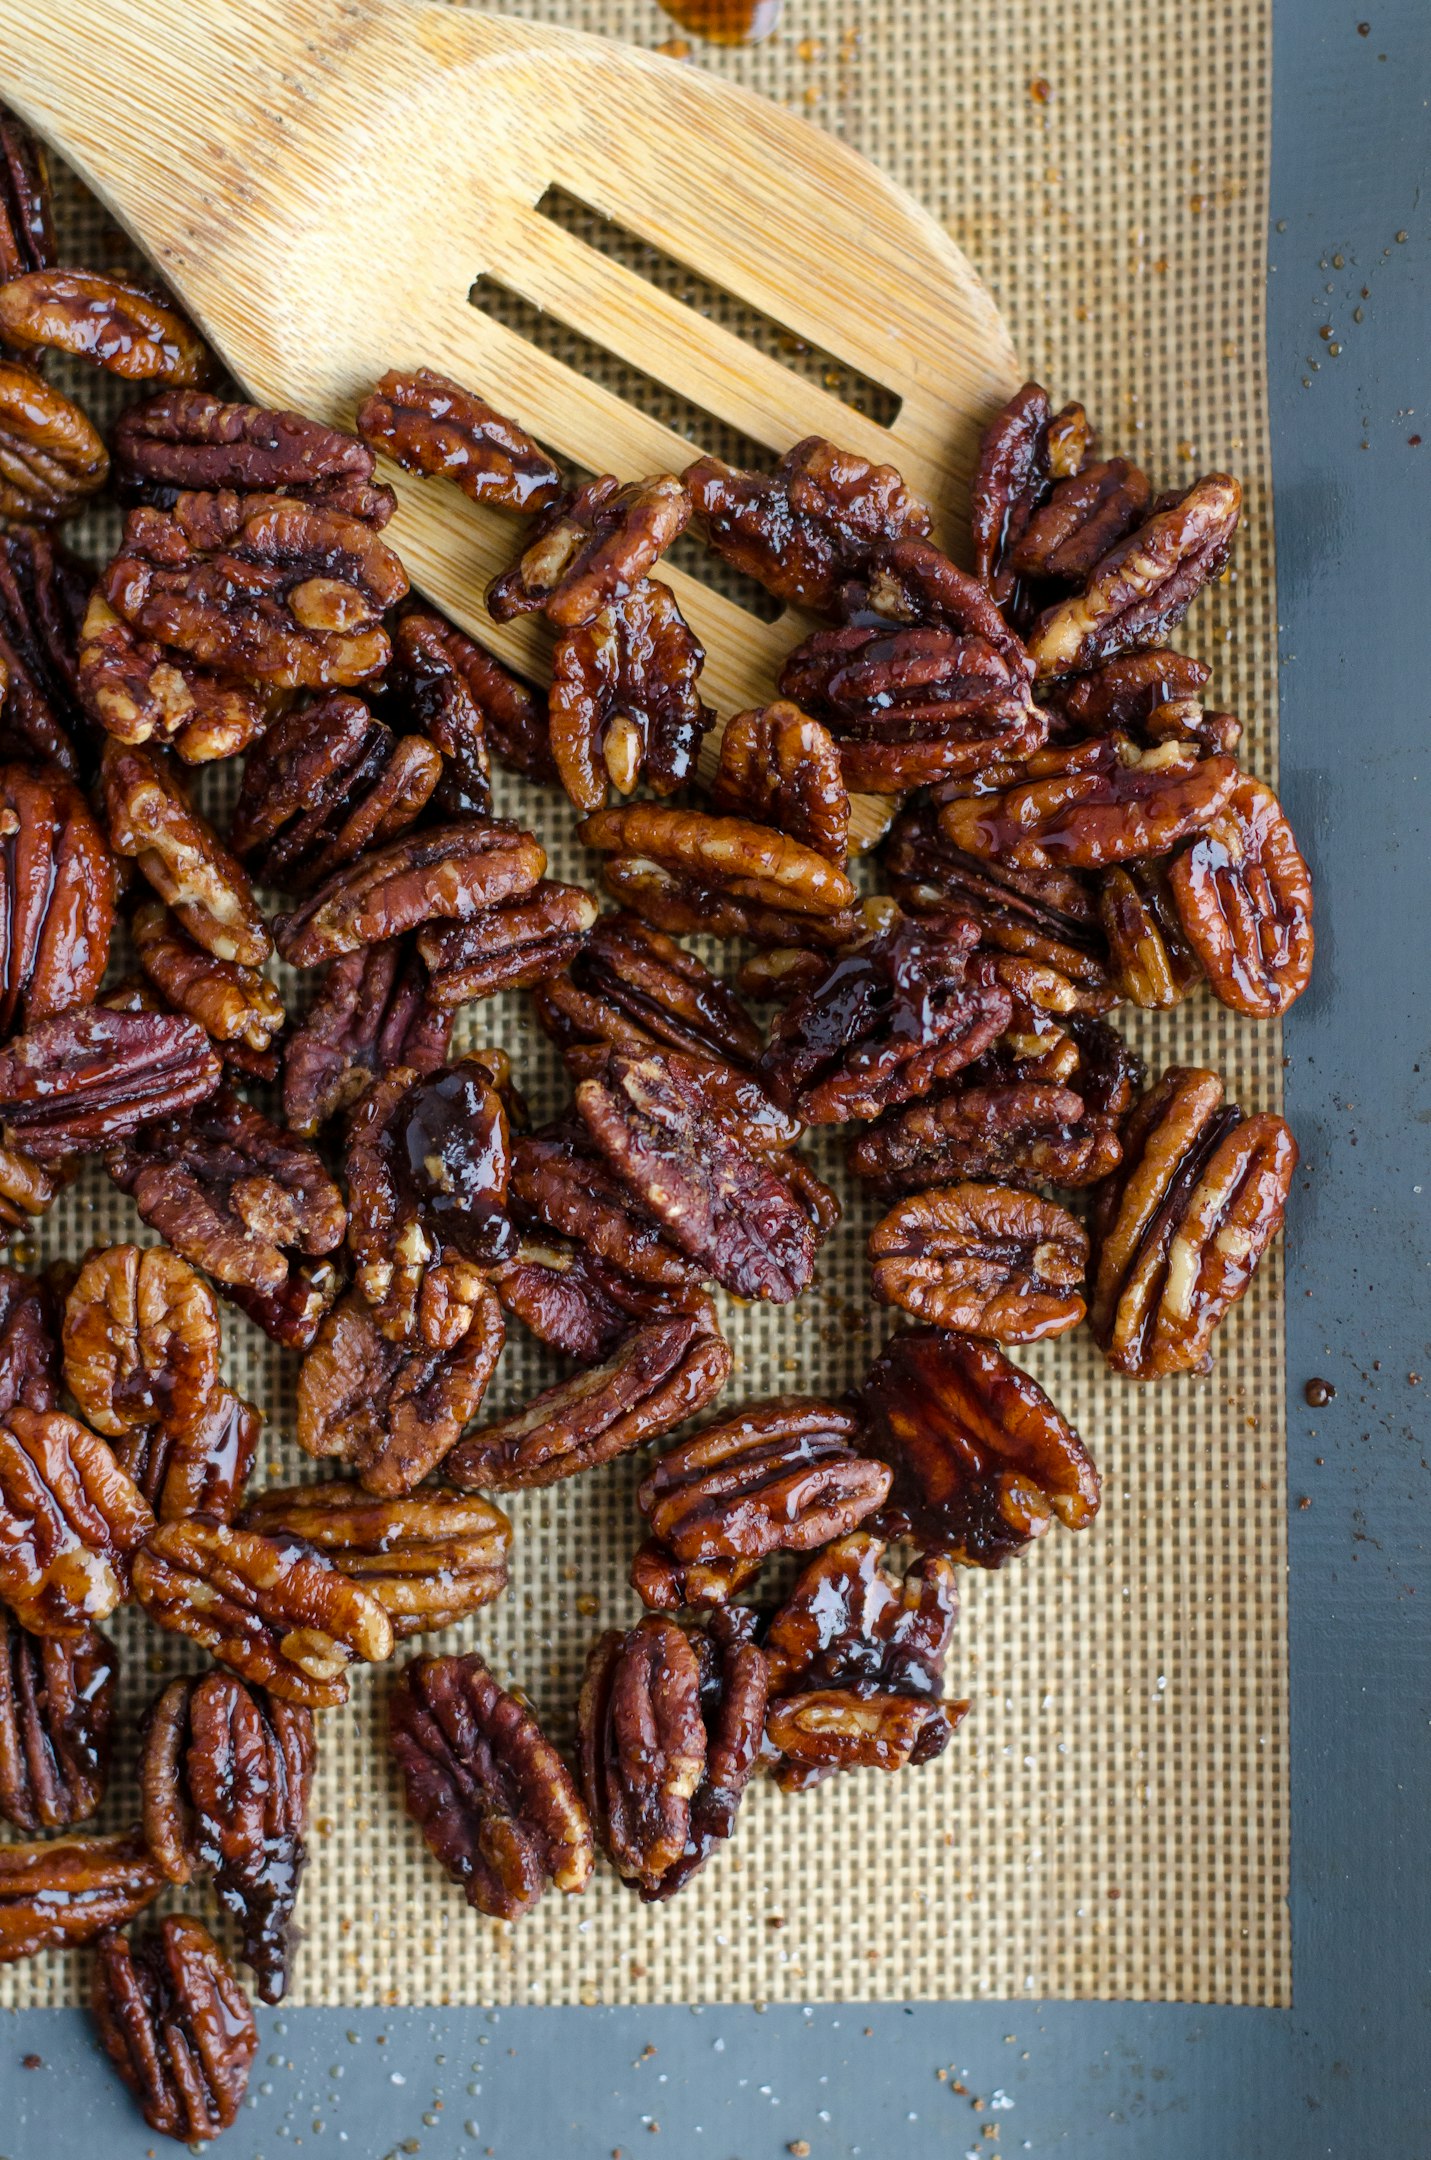
Recipe Idea: Buttery Toasted Pecans
For an extra layer of flavor, try making buttery toasted pecans. Toss the pecans with melted butter and a pinch of salt, then spread them on a baking sheet. Toast in the oven at 325°F (163°C) for about 25 minutes, stirring halfway through. The result is a rich, flavorful snack that works well on its own or as a topping for salads and desserts.
Tips to Save Money on Groceries
Food prices have been on the rise for some time now which can lead to all kinds of stress. Your favorite food product that was so affordable may have skyrocketed in price. Look at the price of eggs! Here are several tips you can use to start saving money on groceries:
Make a List
I usually start my list within a few days after one of one our 4–6-week trips to the big city. Some items I will pick up at the local market when I go for milk, others will have to wait the 4-6 weeks till we go to the Big Box stores again. Making a list can help you stay within your limits, reduce impulse buying and help plan ahead to save yourself time. You can also use a list to help stay organized. Shop dry and canned goods first, then produce, meat and dairy, and frozen food last.
Check on What You Have at Home First
Taking a quick look in your pantry, refrigerator and freezer will help you avoid purchasing things you already have. I usually have very little produce left at the end of 6 weeks, maybe a couple apples or an orange.
Buy Staples in Bulk
If you find yourself restocking the same things week after week, you may want to consider buying in bulk. Things like paper towels, toilet paper and Kleenex have an unlimited shelf life. I order these items and more (laundry liquids, batteries, toothpaste, etc.) online with a Sam’s Club Plus membership and get them delivered right to my door. No more lugging around large awkward packages. Other things like eggs, butter, flour, sugar, (I like to bake!) I will purchase in store, in bulk. Be mindful not to let impulses take over, it’s only a good deal if you can use what you buy in a reasonable time. If you have to throw some out, you’re not saving much.
Check for In-store Deals and Coupons
We shop Albertsons Market and Sams Club most when we go to the big city. I spend a day or two before we go checking sales and price comparing. Albertsons has their “Digital Deals” which can be clipped to your rewards account and discounts will be applied at checkout. A Sam’s Club Plus membership offers a “Cash Back” program, I usually get $5-$7 back each time we go.
Try the In-House or Store Brands
While the packaging may not be as attractive or the name as recognizable, these products are usually just as good, if not better, than the name brand products but at a lower price. At Sam’s Club look for Member’s Mark, Albertsons Market – Signature Select, Signature Farms, Signature Care, Signature… Our local market carries Food Club products.
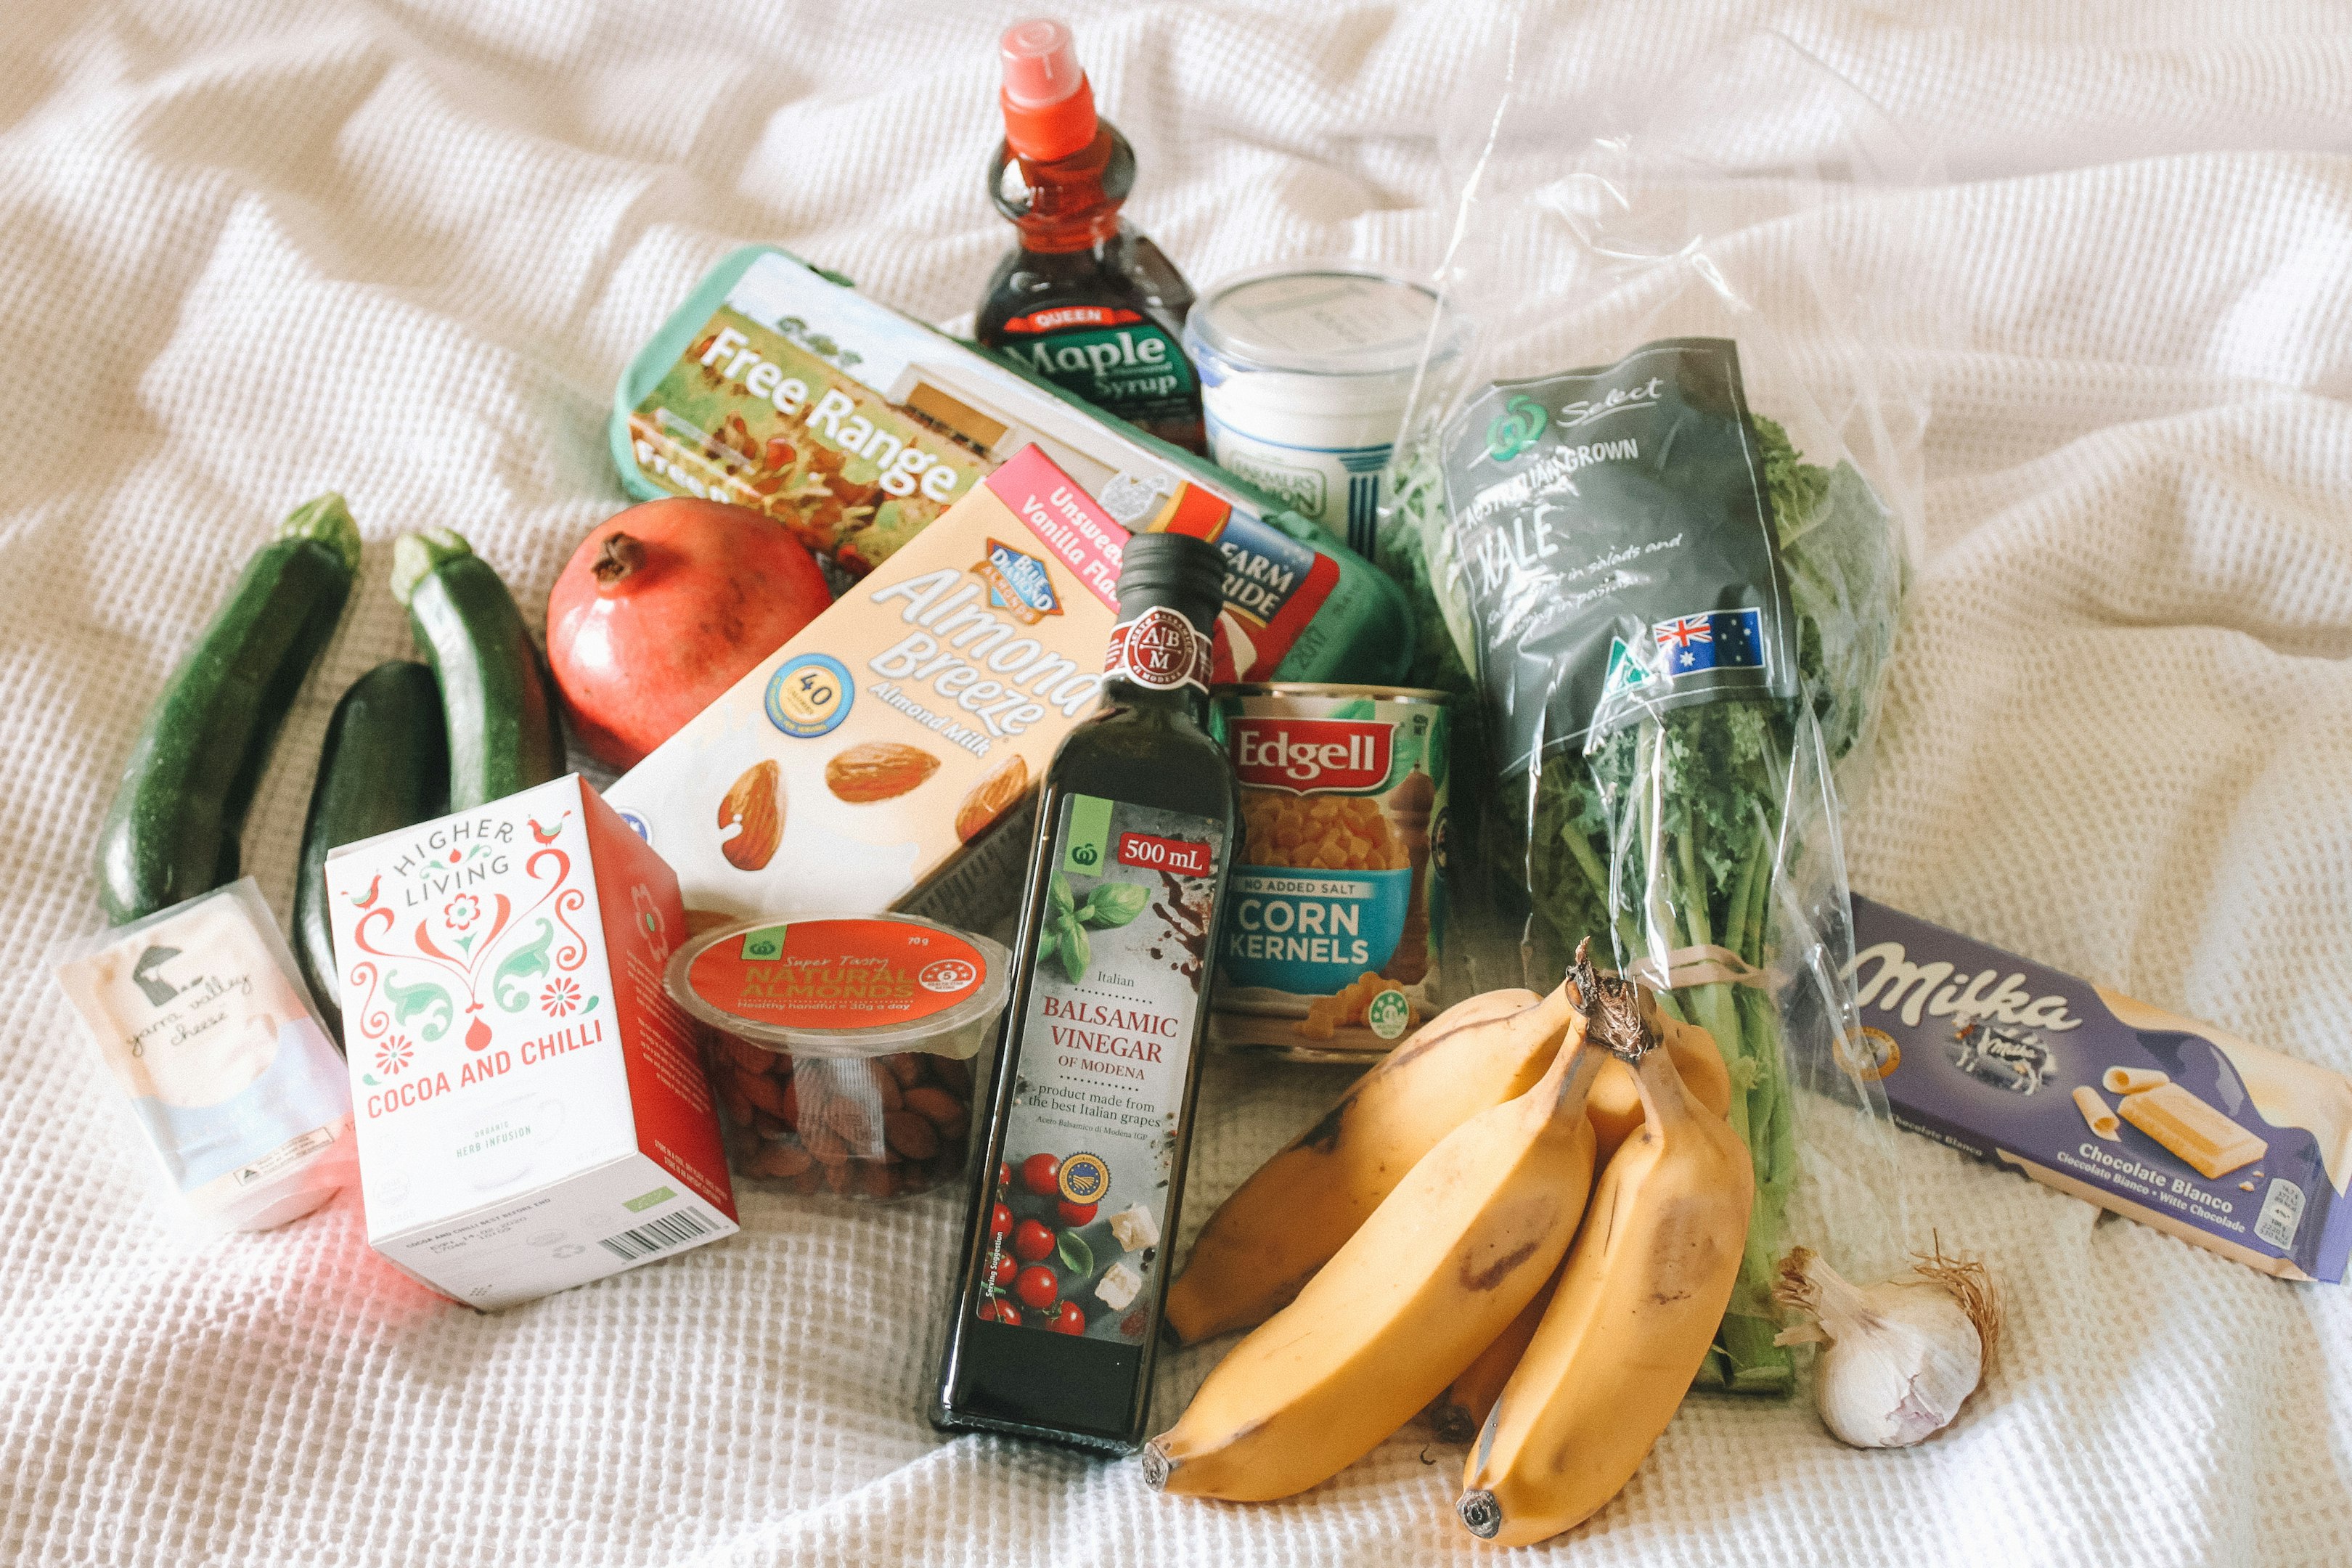
Know When to Splurge on Organic Food
It has become well known that organic food can be better for you, our planet, and farmers, but if it pushes your grocery bill beyond your budget, you may need to cut back. There is no need to spend more on organic foods that have a protective peeling such as avocados, bananas, lemons, etc., as you will be discarding the peelings anyway. If you plan to use the zest of citrus fruits, wash them well with cool water and you should be just fine.
Stick to Groceries at the Grocery Store
You go to the grocery store for food, not shampoo, cleaning supplies, or kitchen wares. These items usually have the highest mark-up due to convenience and are better purchased at places like Family Dollar or Dollar General. If you are pressed for time a big box store such as Walmart that has fresh groceries may help you find everything at lower prices and curb spending.
Don’t Shop When You are Hungry
Shopping when you are hungry will lead to bad decision making and more impulsive purchases. Just because it looks appetizing, is it something you would normally buy? If you must go shopping at mealtime, grab a healthy snack that contains protein and fiber to hold you over till checkout time.
Avoid the Busiest or Peak Times
Nothing is worse than all those people rushing up and down the isles with screaming me-me kids. It can prove to be distracting and even stressful! Usually, the busiest or peak times are from 4PM to 6PM when people are getting off work and madly trying to pick up something for dinner. We typically try to get to the store before 9:30AM (remember, we are 1-1/2 hours away from the big city).
Prepare Ahead for the Trip Home
Depending on how long the trip home is, an insulated bag or small cooler may be sufficient. We have a Coleman cooler that plugs into a cigarette lighter, this holds dairy, lunch meats and cheese. Then we have 2 heavy insulated bags, one for meat and one for frozen foods. We also have a pop-up insulated chest shaped bag/box that holds most of the produce we buy. Lastly, we have a few cardboard boxes that hold dry goods and canned foods, so they don’t roll around or rattle all the way home.
Happy Shopping and Hopefully Saving!
IT'S CHILE TIME!!
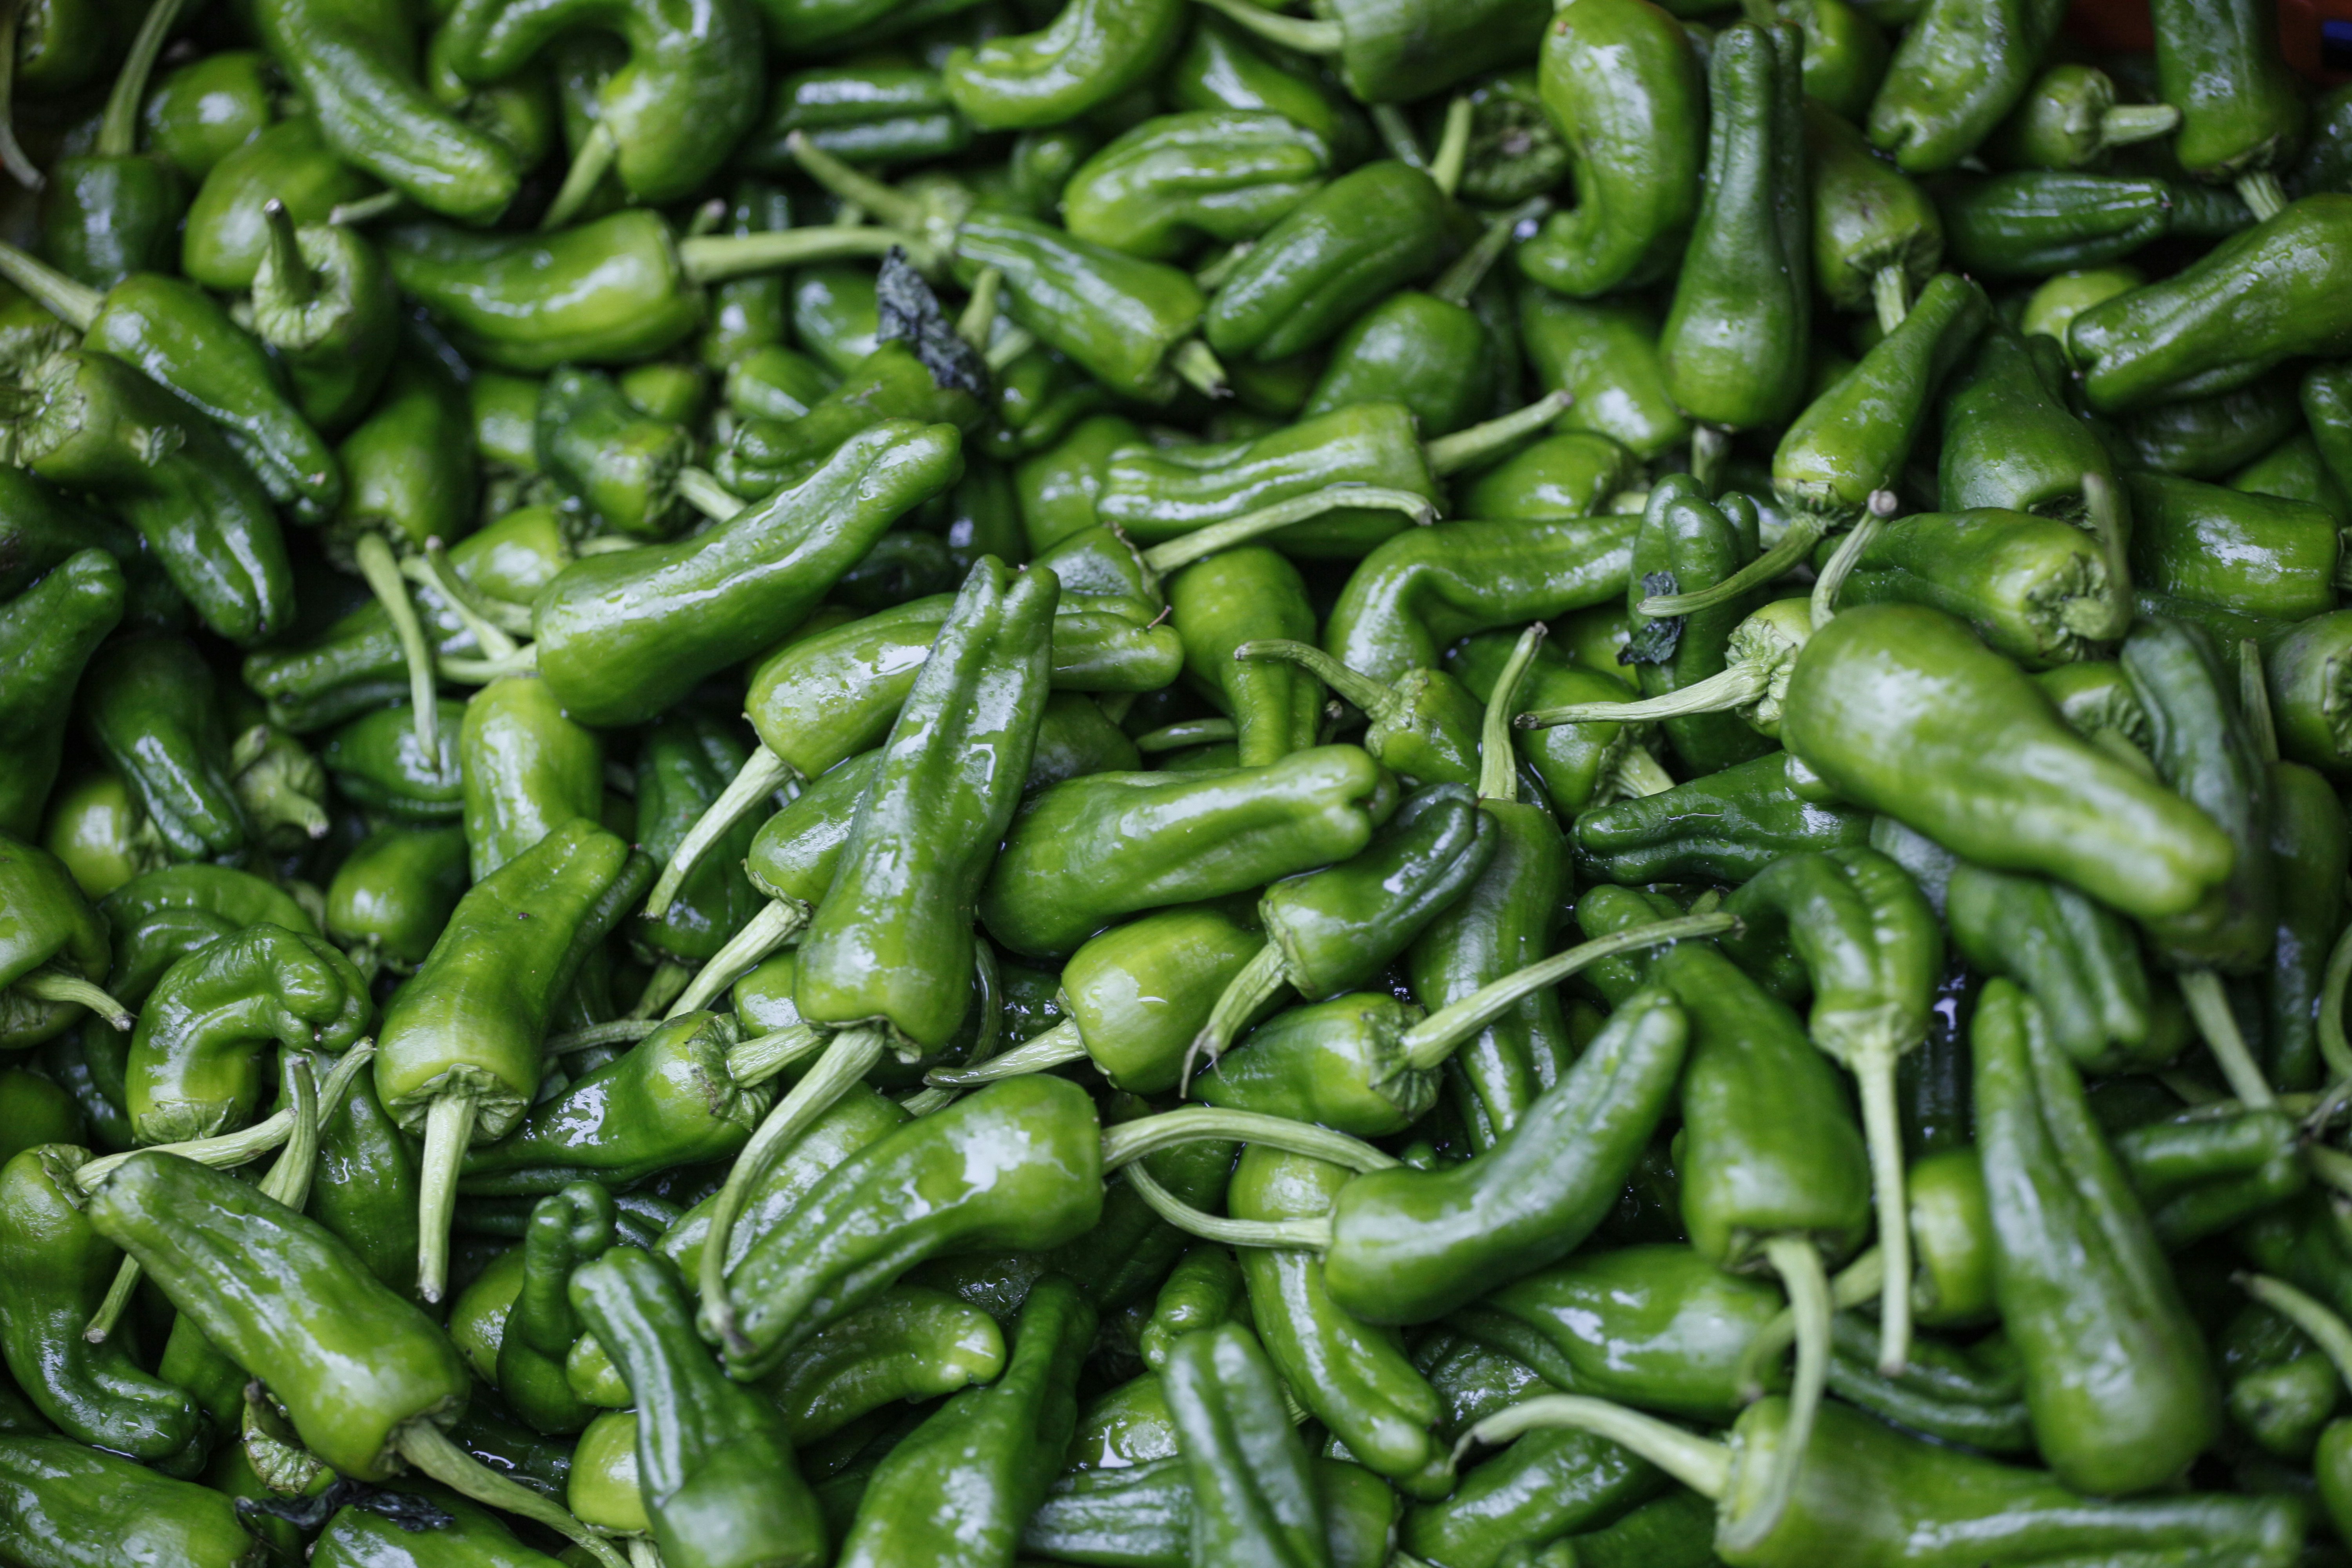
It is Chile time, and the Chiles are hitting the stores. Let’s begin with a few facts and myths. Chiles are primarily grown in New Mexico, often in or around Hatch New Mexico. Chiles can be grown elsewhere. Many of us refer to chiles as “Hatch Chiles”. Hatch is the name of a Town as well as the location where many chiles are grown. The Hatch operation has more than 700 farms growing their chiles.
With the permission of our local Albertsons store in Roswell, NM, we will use excerpts from their recent ad. In that write up they refer most times to Hatch but the verbiage pertains to all chiles. Since they refer to Hatch often, we will go with that.
CHILE SEASON IS HERE.
The Albertson’s staff at the Corporate and local levels have become pretty much Hatch Chile heroes. Not only do they search far and wide for chiles bursting with flavor, they’re also an authority on everything from picking to prepping. Get ready to deepen your addiction to the Southwest’s most coveted pepper because this year, we brought the heat and how-to’s on how to handle it.
History of Hatch Chiles
Did you know that the ‘Hatch Chile’ is a variety of pepper? It’s actually just a term to describe several different varieties grown in Hatch, New Mexico. Hatch has become the Chile capital, known for producing Chile peppers with unique, zesty flavor. These Hatch Chiles are so appetizing that they have cultivated a fan following each summer.
Fun fact: Many people think that the red Hatch Chiles and green Hatch Chiles are different types of peppers, when in fact, they come from the same plant, just picked at different times. The red Hatch Chile pepper is simply riper than the green Chile.
This Chile pepper has cultivated quite the following due to its unique, fiery flavor and short season. Easy to cook with, we like to think Chile goes with everything. Spice up your life this summer with authentic green Chile that are sure to be a winner amongst all.
Choosing Chiles
Join in on the Chile obsession this summer with our foolproof instructions on hacking the Chile season. We’ve got a checklist on how to pick the perfect Chile peppers as well as step-by-step instructions on how to roast and prep them for your delicious recipe of choice. Don’t miss out on the fresh, fiery flavor we all know and love!
Are Chiles new territory for you? Don’t worry – we’ve all been there. For everything you need to know about the renowned Chile peppers and how to prep your peppers for greatness read on. You won’t regret it!
Full of delicious flavor and easy to cook with, Chiles are the perfect addition to any recipe if you’re looking to add a little bit of spice.
Spice Up Your Summer
Backyard barbecues are a summer essential as nothing says summertime like firing up the grill and enjoying the nice weather with friends and family. Spice up your summer barbecue classics this summer by incorporating Chiles into your grilled favorites like burgers, poppers and even corn on the cob.
Preserve The Fiery Flavor All Year Long
The fiery flavor of Chiles doesn’t have to disappear after the season is over.
It takes two easy steps to turn fresh chiles into a year full of flavor and zest. Don’t wait for the season to be over! Preserve your Chiles now for a spicy addition to your favorite recipes throughout the year.
Roast & Prep Your Chiles
The first step in preserving the fresh, fiery flavor of Chiles year-round is to pick, roast and prep them while they are still in season, before freezing.
While you can just toss your whole or diced chiles in the freezer, we recommend roasting the chiles first, before freezing, to preserve their deep, smoky aroma, as well as make peeling them a breeze. There are many ways to roast Chiles, all of which we talk about, but some vendors offer free roasting.
Freeze for Fiery Flavor Year Round
If you’re not roasting your Chiles, simply toss them, whole or diced, into a sealed plastic bag and place them in the freezer to enjoy later. If you are roasting them, you may also choose to freeze the chiles as is, or you can peel and seed the chiles while fresh. From there you can freeze them whole or choose to dice them into small pieces.
Once your chiles are ready for freezing, place them into plastic freezer bags or shallow freezer-friendly containers to prevent freezer burn. If you are using plastic freezer bags, try to remove as much air out of the bag as possible before placing in the freezer. Of course, if you have been following our website, Kitchen Tips, you know we highly recommend a vacuum sealer.
Store your chiles in the freezer for up to a year and thaw in the refrigerator before using.
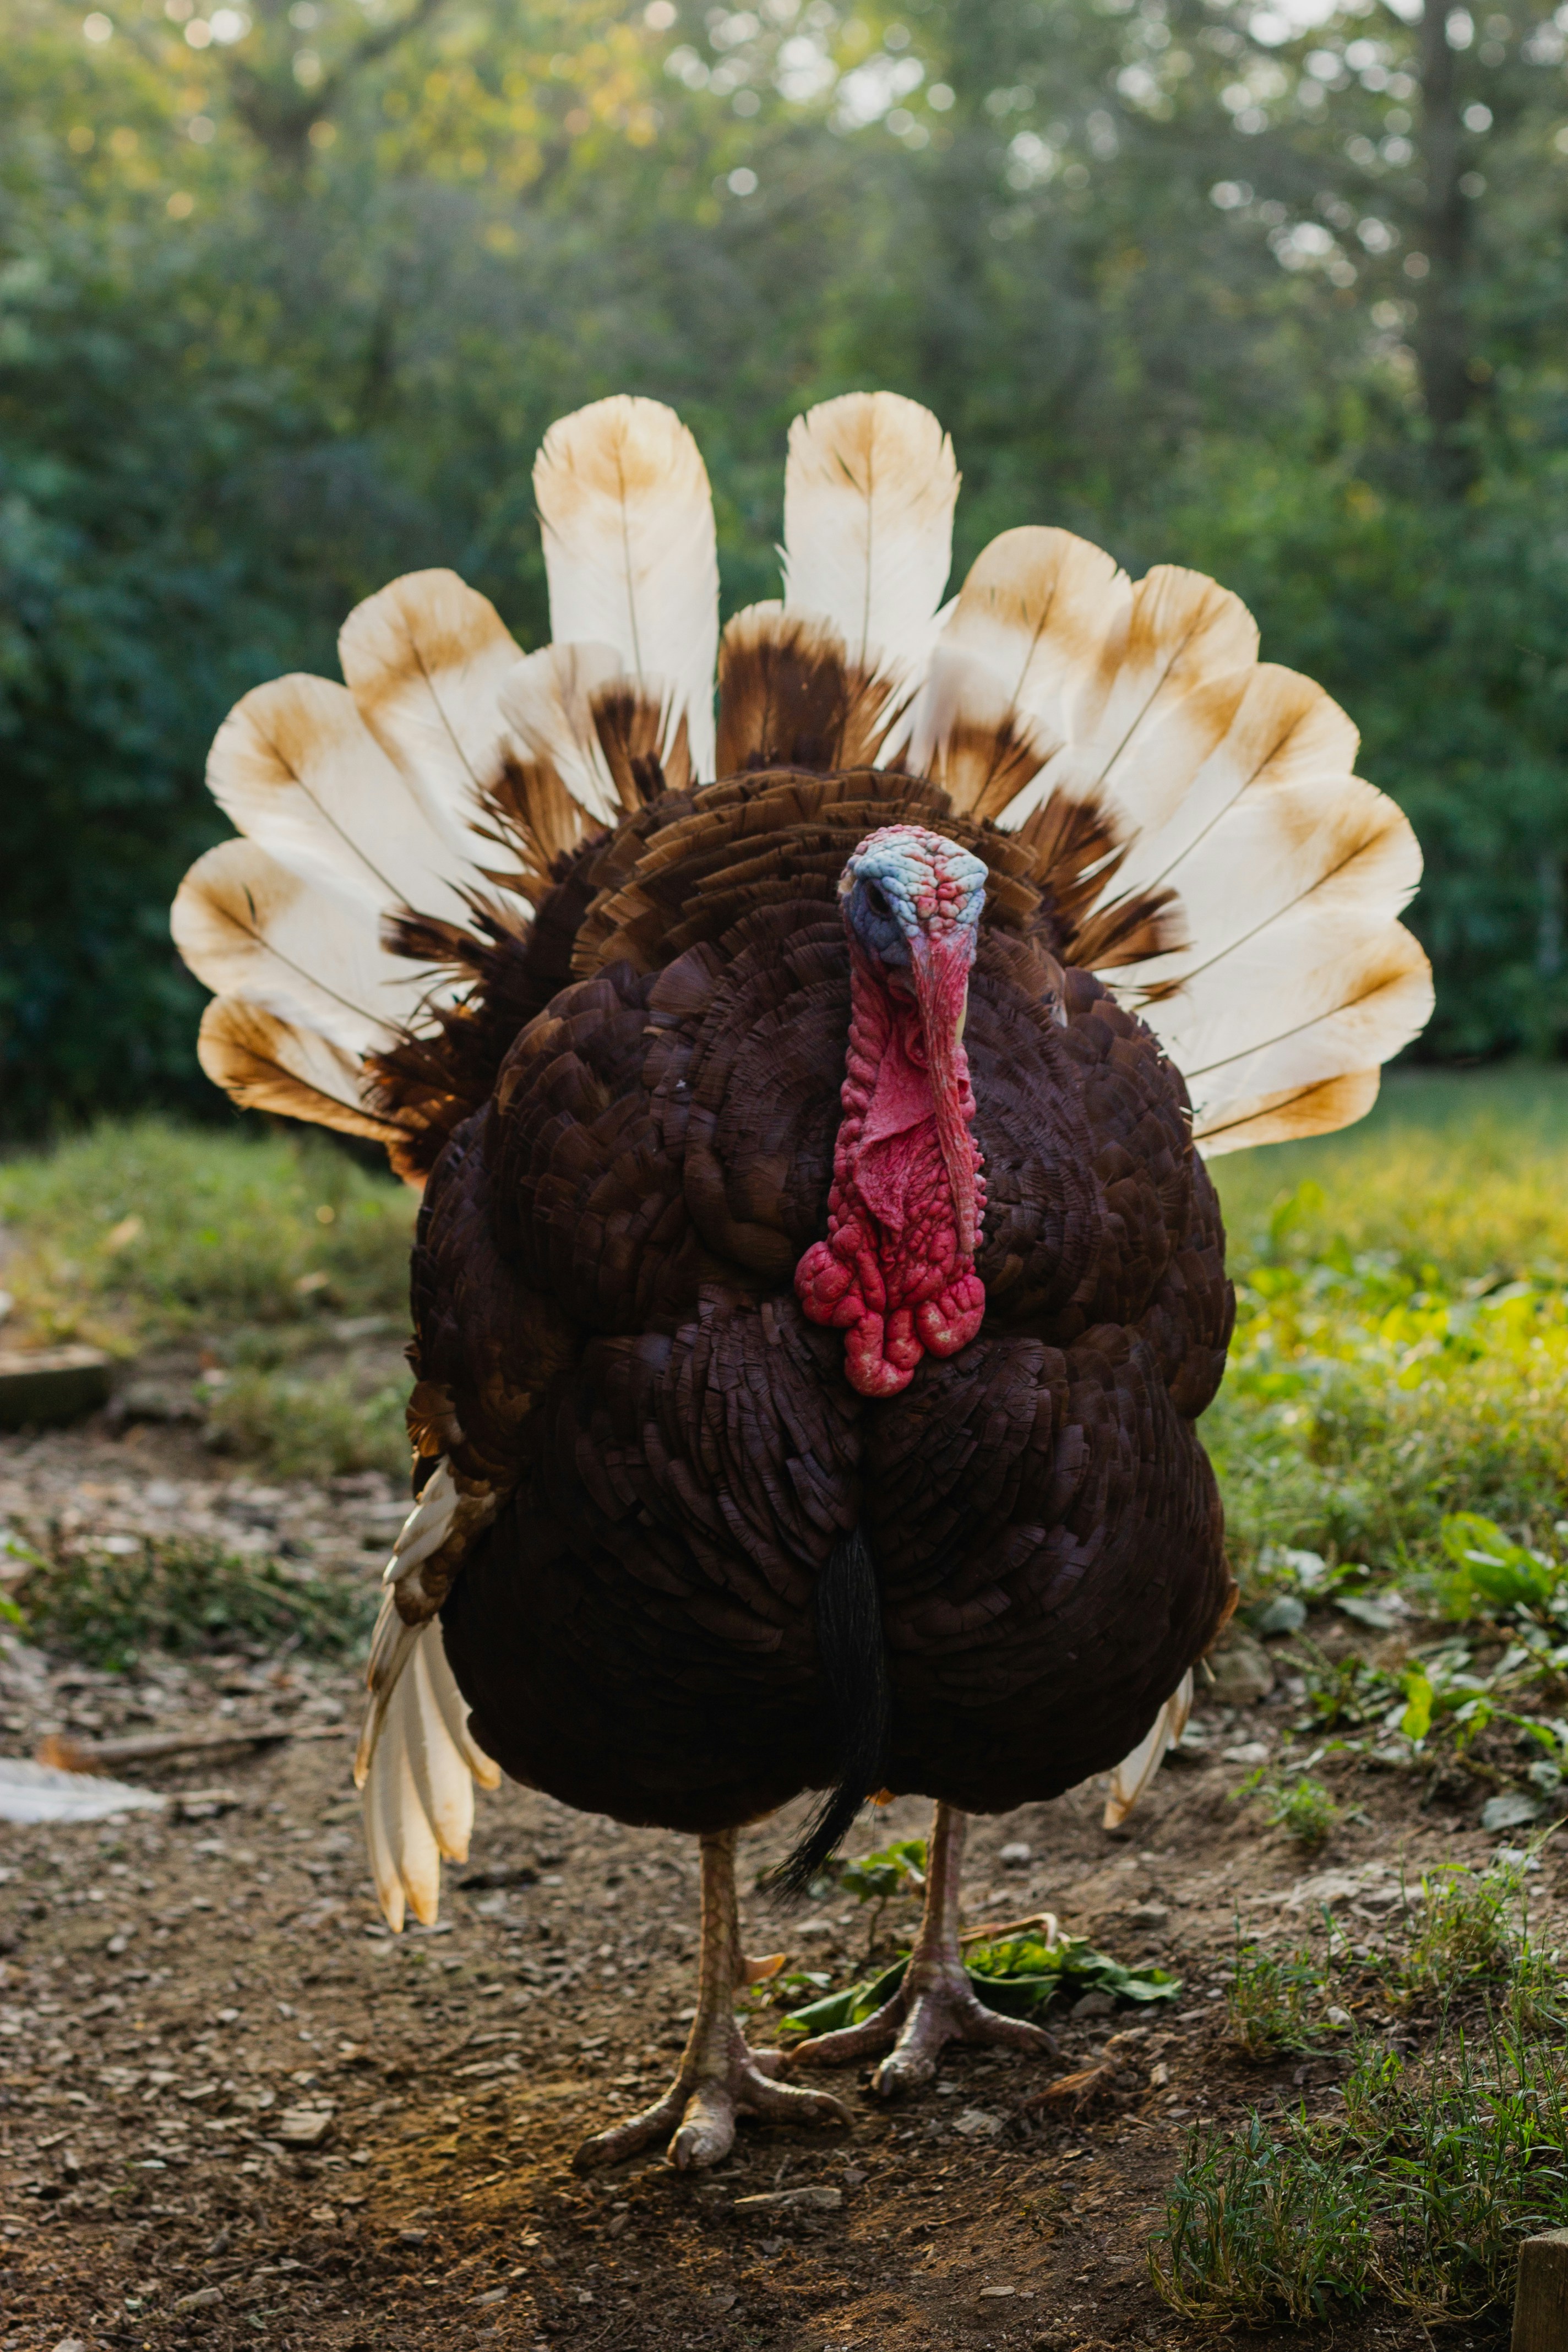
Turkey Tips Tricks & Trivia
Thanksgiving turkeys will be plentiful and usually all kinds of good prices. Our tip here is to buy a turkey bigger than you will eat at the Thanksgiving meal if you like leftovers. For the two of us we have found a 15-pound turkey works for us.
We tend to make a big deal of holiday meals. We go all out at Thanksgiving, making stuffing and all the trimmings. We cook the turkey according to the directions except we pull the bird out of the oven every hour and baste it with butter, turn it around 180 degrees and return it to the oven. When the turkey has reached is final temperature, we take the bird out and set it on the chopping block to rest and let the juices do their thing.
The first thing is to remove the stuffing from the neck cavity and then the rest of the stuffing from the body. In years gone by, we have put oyster stuffing in the neck cavity. With the turkey resting on the chopping block, we’ll get out a couple knives. The first being a fillet knife. We use a long fillet knife because of the flexibility of the blade. We’ll proceed to get close to the breastbone and remove one side of the breast. Patty will carve the breast, while I proceed to remove the leg and thigh and go after the dark meat. At this point, we usually put the gravy, potatoes, stuffing, sweet potatoes, etc. on the table and proceed to have a fantastic Thanksgiving supper.
After supper we will cover the remining bird and refrigerate until Friday. Over thanksgiving weekend, we will often have another meal or two, maybe a turkey sandwich, etc. Usually, Fri. or Sat., we take all the rest of the meat off the bones. We will put the bones into a pot, cover with water, add seasonings and cook the bones down to make broth. Sometimes we roast the bones with some cut celery, carrots, and onions until lightly browned. Then cover with water, add some seasonings and simmer. This makes a richer, more flavorful broth.